Saturday 25 August 2012

Sorting out my Space!! (part 2)

Right - so here is some pics from before we moved everything around:

- this is my desk. I don't know if you can see it bending in the middle and leaning forward, but it is!! :)


...and this is the OH's desk, on the opposite wall to mine.


...and this is the OH and my soon to be Father in Law setting things up after swapping the desks over.


Well, we went shopping for project craft room last week. A quick trip to B&Q and we were kitted out with all we needed. My desk had been reinforced and remodelled to fit the new space, the filing cabinet was in place and we had a general idea of what we wanted.


Initially there was going to be a built in shelving unit above the filing cabinet, but after considering this I decided it would make the shelves dark and would close my desk in massively. I decided that extending the shelving straight to the wall would be a better idea.


I came home from work earlier on in the week and found that my OHs dad had been hard at work in our study – the shelves had gone up and everything was looking a lot more finished! In fact  the only thing left to do now is decide on some under desk storage!! 

I spent a good few days putting everything back into the study... I am completely in love with my new craft space!!! I LOVE the silver racking – it’s SOOOOO useful!! and it makes me feel like I own a shop!! lol!! 

It’s going to take a few months of using things and re-organising things to get it into perfect order but I think it looks pretty darn good. I think I even have space to store my sewing machine in here - I might actually get round to using it!!!

Thats it for now - Im off to reorganise my stuff!!
Speak soon!xxxx

Friday 17 August 2012

Sorting out my Space!! (part 1)

I am super excited at the moment – me and the OH are having a sort out in the study.
My desk has been a problem since we moved into this house – we had to take 7cm off the depth to make sure we could get the 2 desks in with enough space for the chair in-between them.....
HOWEVER – the desk isn’t solid wood – it’s full of corrugated cardboard. By cutting the edge off we weakened the structure and the desk bowed in the middle.
We also have a huge table top shelving system on it which makes the desk lean; like a very leany thing in a gale force wind!! With the amount of craft stuff I have precariously balanced on the top the desk is actually quite dangerous!!
So, after talking about what we could do we have agreed to get me some decent storage. I am moving from the right-hand side to the left-hand side, swapping my desk for a wall to wall work bench and gaining more surface space. I am searching the internet for pics of craft rooms and ideas on how to make the space as usable as possible!
It’s amazing how big a room becomes when you take all your stuff out of it! LOL!
Will keep you updated on the project! If you have any crafty storage ideas or tips – please let me know!!
Speak soon.xxx

Friday 10 August 2012

Pinterest Obsessed!!!

I only found Pinterest a few months ago - but OMG, I am obsessed!!! If I'm bored or have a few minutes to spare I am usually on there surfing around looking for the next amazing thing I wish I had in my life!!!

The amount of crafty goodness that is on there is unbelievable!!! My OH laughs when I show him the amazing things that I am going to make; I have recently bought crochet needles so I can teach myself to crochet, just so I can have the huge granny square blanket in earthy greens and purples!! LOL!
Though he did look quite impressed at the DC/MARVEL themed nursery! :)

Here's a few crafty gems that have caught my eye!

corner bookmarks
this one is made of leather but card would work just as well!
card organiser
I have looked at these in shops before - I love the idea of being able to store my cards in an order - will make it easier to find the ones I want!!
dry wipe notes
love notes, to do list, reminders...free standing piccy frame, or magnets on the back and stick to the fridge, or hang on the wall - why not!!!
bows...
beautiful rosette style bow.
mini pom poms...
brilliant idea using a fork!!

at some point I AM going to make all of these things - I NEED them in my life!!

meal planner
I have made this already - BEST THING I EVER DID!!!
photo frame, dry wipe pen and an insert with Mon - Fri on it and - TA-DAAA!! amazing!! it has pride of place in my kitchen. (and makes planning the weeks shopping/meals SOOOOOO much easier!!!)

well, I'm off to perv some more at crafty things on Pinterest!! I have a board with some of my cards on it - if youre interested, take a look. :)

Bye for now, speak soon.xxx

Friday 3 August 2012

Calling all Crafters....Coated Card Bargain!!

To Do: find some decent coated card that wont bleed my promarkers!!
ACHIEVED!!!

I went searching the craft forums looking for some recommendations on what type of card to use - the name that kept cropping up was Ryman - so I googled and found the website. This card has been recommeded for Promarkers and Copics, so it cant be bad!! It is coated so enables the pens to blend easier than matt card, which sucks up the ink like a sponge.

Their card is on a 3 for 2 offer this week AND for this week only they are offering free next day delivery on ALL orders!!! This was an offer too good not to take!!! I bought 3 packs of 50 A5 white coated card for £7.98. bargain!! Personally thought I would be less wasteful with the A5, I should be able to get 2 images on each piece so SHOULD end up with less 'scrap' card.

The next day delivery is on all orders completed before 5PM. Wooooo!! thats me!! Cant wait to use it - gonna be weird seeing my digis with white eyes.... so used to seeing the skin tone bleed up into them!! LOL!!

Also - on a non promarker note - I think I may be doing another craft fair!! Its a Christmas Fair, its at the village hall opposite my house! (*shudders* its only August....shouldn't be thinking about christmas yet) My OH brought the poster home yesterday to show me and it says there are still stalls available. will look into the price/day etc... if I do go ahead with it I think I might make some of the matchbox advent calenders! :)

hope you take advantage of the free postage and 3 for 2!!!
Speak soon!xxx

Wednesday 1 August 2012

Practice makes Perfect!

Ok, so my mission to practice colouring hair using promarkers has started! I did a bit of looking on the web yesterday for tutorials and tips on how to achieve a nice effect, and came across this hair and skin tutorial on the Letraset website. It uses a Gorjuss girl image and shows how to colour hair, skin and clothes to create highlights and shadows.

I printed off my 4 Saturated Canary girls and had another play...

hair: antique pink, cocktail pink, blush.
skin: ivory, oatmeal

hair: tan, pastel yellow, buttercup
skin: ivory, blush

hair: cocoa, tan, caramel
skin: blush, oatmeal

hair: cool grey 1-5, black fine liner
skin: ivory, blush

I have tried to do different hair colours and skin tones to experiment with the colours i have, and have come to the conclusion that i need more skin tone colours!!!

considering my last attempts I have to say, I'm quite pleased with myself!! I think I am definately getting better at colouring! The highlights and shadows add such depth to the images and really make them stand out. Think my fav is the blond hair. VERY happy with that!!

one thing I have noticed now that I am blending colours more is that the promarkers bleed alot on this card....think I need to make a trip to get some better quality card and some more promarker colours!!! :)

Speak soon.xxx

Sunday 29 July 2012

Bits and Bobs...

Its been a bit all over the place recently on the card making front, I have done a wedding invitation order, am working on quite a few male birthday cards and have had ALOT of fun with some digi stamps from Saturated Canary.

The invites were a joy to make - it was lovely to be able to work on some wedding stationary that wasn't mine tbh!!! I was given the brief of black and white damask with dark red as an accent colour. I made a range of different styled invites for the couple to look through and then from those they picked the invite they wanted. After a lot of emails and messages back and forth between me and the bride we finalised the font, wording and layout to exactly how she wanted. 

The black, white and red combo looked stunning on the final design, definitely a combo I'd like to work with again.


The male birthday cards are still works in progress so once they are finished i will post some piccys - working on two 80ths (for the same man) and an 18th card. I always find male cards quite difficult to do, so this is a challenge for me to say the least!! A fun challenge though!!


I had my eyes opened to the beautiful world of Saturated Canary by a friend this past week, who alerted me to a free digi stamp on the website. The digis are gorgeous!! - and SOOOOO fun to colour!!
I have 4 digis from them and I had a bit of a play with them today!
(I apologise for the crappy lighting in the photos!! NEED to get a decent light in here!!)
i used the circle framelit as a template to curve the clear stamp sentiment. 

thought this would make a beautiful card for a bridesmaid to give to a bride...or visa versa!!

am COMPLETELY in love with this digi!! everything about her is gorgeous!! including her cute kitty!!

I have used glossy accents on the balloon to give it dimension and shine. 

the HUGE eyes make these girls SO pretty!! and the quirky clothes allow you to go wild with the colour! I need more of these digi's in my life.....and so starts an unhealthy obsession with Saturated Canary digi stamps!! there are so many on the website - you can check them out HERE.

so thats what i have been up to recently! think I'm going to go and print some more of these digis off and colour some more :) - might work on colouring hair, haven't got the hang of it yet!!

By for now - speak soon.xxxx

Wednesday 13 June 2012

Oh, hello Mojo!!

Wow - well it really shows how long its been since I posted something.... blogger is COMPLETELY different!! It took me about 5 minutes to find the 'write new post' button! :)

Anyway,  I have been in a total mojo-less pit for the past couple of months and I've ground to a complete halt with my crafting, there's lots of reasons, which i wont go into, but I'm hoping that my mojo is back now!! I had a last minute order for a card on Sunday so here's hoping the pressure will give me the kick up the bum I need!!!

Since my last post I have made a couple of cards;
with some inspirational help from a Facebook friend I created some 'Super' cards!! :)

superhero themed cards


...a card for a friend to let her know I was thinking of her:

Tim Holtz ticket, butterflies coloured with alcohol inks


...a Baptism card with beautiful 3d roses on it:

I used sizzix framelits for the sentiment and backing


...a few birthday cards for the future inlaws:


Tim Holtz style rosettes
Simple layered butterfly punches

And a steampunk mothers day card!!

Kenny K digi Stamp


AND I have been designing my own wedding stationary!! i never knew just how creative you could be using Microsoft Word!! I have to reccommend a few websites for free fonts - without these sites, my wedding stationary would have been in Comic Sans!!! lol!!! check them out: http://www.dafont.com/ and http://www.1001freefonts.com/ are FAB!! LOADS of different fonts to choose from, great for cardmaking and scrapbooking too!

Looking back over the preview of this post, I can see that I have been quite busy, I guess sometimes it takes seeing everything that you have done in a list like this to see that you have achieved quite alot!! OK, feeling positive again and I think I feel my Mojo returning... I'm going to go and crack on with this Birthday card order.

Big Love, Speak soon.
xxxxx

Wednesday 21 March 2012

Save those Scraps!

I hold my hands up - I never used to save scrap paper or card. If it was smaller than a playing card I would chuck it! *shakes head in shame* chatting with my crafty friends I discovered how wasteful I was being! I'm proud to say I have been keeping scraps for about 3 years now :)

my issue was I kept all the scrap in a box about the size of a shoe box, all shoved  in with everything just thrown in ontop of each other.  I found that I had the same problem I had with my stamps - I was only ever using the top few bits to do anything with.

A trip to Ikea solved all my problems!!

I bought a pack of 2 suspension file boxes and have used one to  file all my scraps in. I sorted all the bits of paper out into separate colours and put each colour in its own drop file. I have: Multi, Red, Orange & Brown, Yellow, Green, Blue, Pink, Purple, Black & White and Gold & Silver. simples! also keep scrap black and white card tucked into the front - VERY handy for stamping if youre then going to cut and mount!!


It's unbelievable how easy it is to find things now! my card and paper stock is lasting so much longer because I'm not cutting into a new piece every-time!!!


My 'Pink' scraps!!

The suspension boxes themselves are quite reasonably priced, though it wasn't a cheap trip to Ikea; i ended up buying 12 different sized boxes for all my different bits and bobs but it was TOTALLY WORTH IT!! My inks, magazines, punches, wooden stamps, peel offs, embossing kit, packs of cards and envolopes, everything - has a nice new home. my craft room has never looked to neat!! and everything is so easy to find now. I will have to post a picture....when it is looking a little more tidy!! 

That's it for now,
Big Love and Speak soon!
xxxxx

Thursday 8 March 2012

Let There Be Light (Box)!!

Hello hello!!

I can't believe this is my 1st blog since January!! I may have been quiet but I have definitely been busy!!!

I'm gonna share with you today how I have made a light box. there are loads of tutorials out there on how to make one of these but if you're anything like me, you'll watch them and never get round to making one because "you don't have time", "I bet its harder than it looks", I don't have all the bits it says I need"....
well, I finally got my bum in gear and made one, and I have to say, it was REALLY easy!!!

What you'll need:
1 cardboard box (relevant in size to the item you want to photograph inside it!)
sellotape
craft knife
ruler
pencil
WHITE tissue paper
large piece of clean, unmarked matte card (this is your backdrop so white or black)
2 x light sources (desk lamps will do)

ok, after you have gathered all your bits and pieces make sure your box is the right size!!

I had to adapt my box a bit to make it taller... it would have fitted 'standard' 5x5 and 7x5 cards in but I have started making these taller ones - 8x4. why not turn it up on its end I hear you shout... well I make check book style cards (4x8) so i need the light box to be long as well as have height to it. Anyway, I cut the box in half widthways and with a few bits of extra cardboard I made the box taller.


MARK THE BOX UP:
mark out the bits your gonna cut out.  I left a 2cm frame around the area I cut out. This will differ on the size of box I guess - the YouTube tutorial told me to leave a rulers width but that was massive and left my cut out bit rather small. mark up 3 sides and leave the bottom and back blank.

CUT THE LIGHT WINDOWS OUT:
cut the 3 sides you have marked up. if you have them you can also remove the top and side flaps from your box.

I used one of the sides of my box as my front so I had to cut a window in that too. that's why I have a frame on the front of my box.

PUT THE BACKGROUND CARD IN:
the card is the background. use a matte card - shiny will interfere with the flash of your camera. trim to the inside width of your box. when you put the card in be careful not to bend it - any mark of crease will show up on your pictures - it's worth being EXTRA careful at this stage.
when you have slid the card right up to the top back of the box, secure it with a little bit of tape. you will have a nice curve In the card - don't fold this, leave it as a curve. push the card back as far as you need, remember your product has to stand on the base so it needs enough room to do so before the card starts curving.


COVER THE LIGHT WINDOWS:
all that's left to do is to cover your light windows with tissue paper. doing this helps diffuse the light and creates a more even lighting on your product. covering the holes is easy - cut the tissue paper so it's just bigger than the hole and then tape in place. I found 2 sheets of tissue paper worked well for the lighting, play around with it though - you may find 1 sheet is enough or that you need 3 J

Play around with the position of the lights - different products will need different lighting.

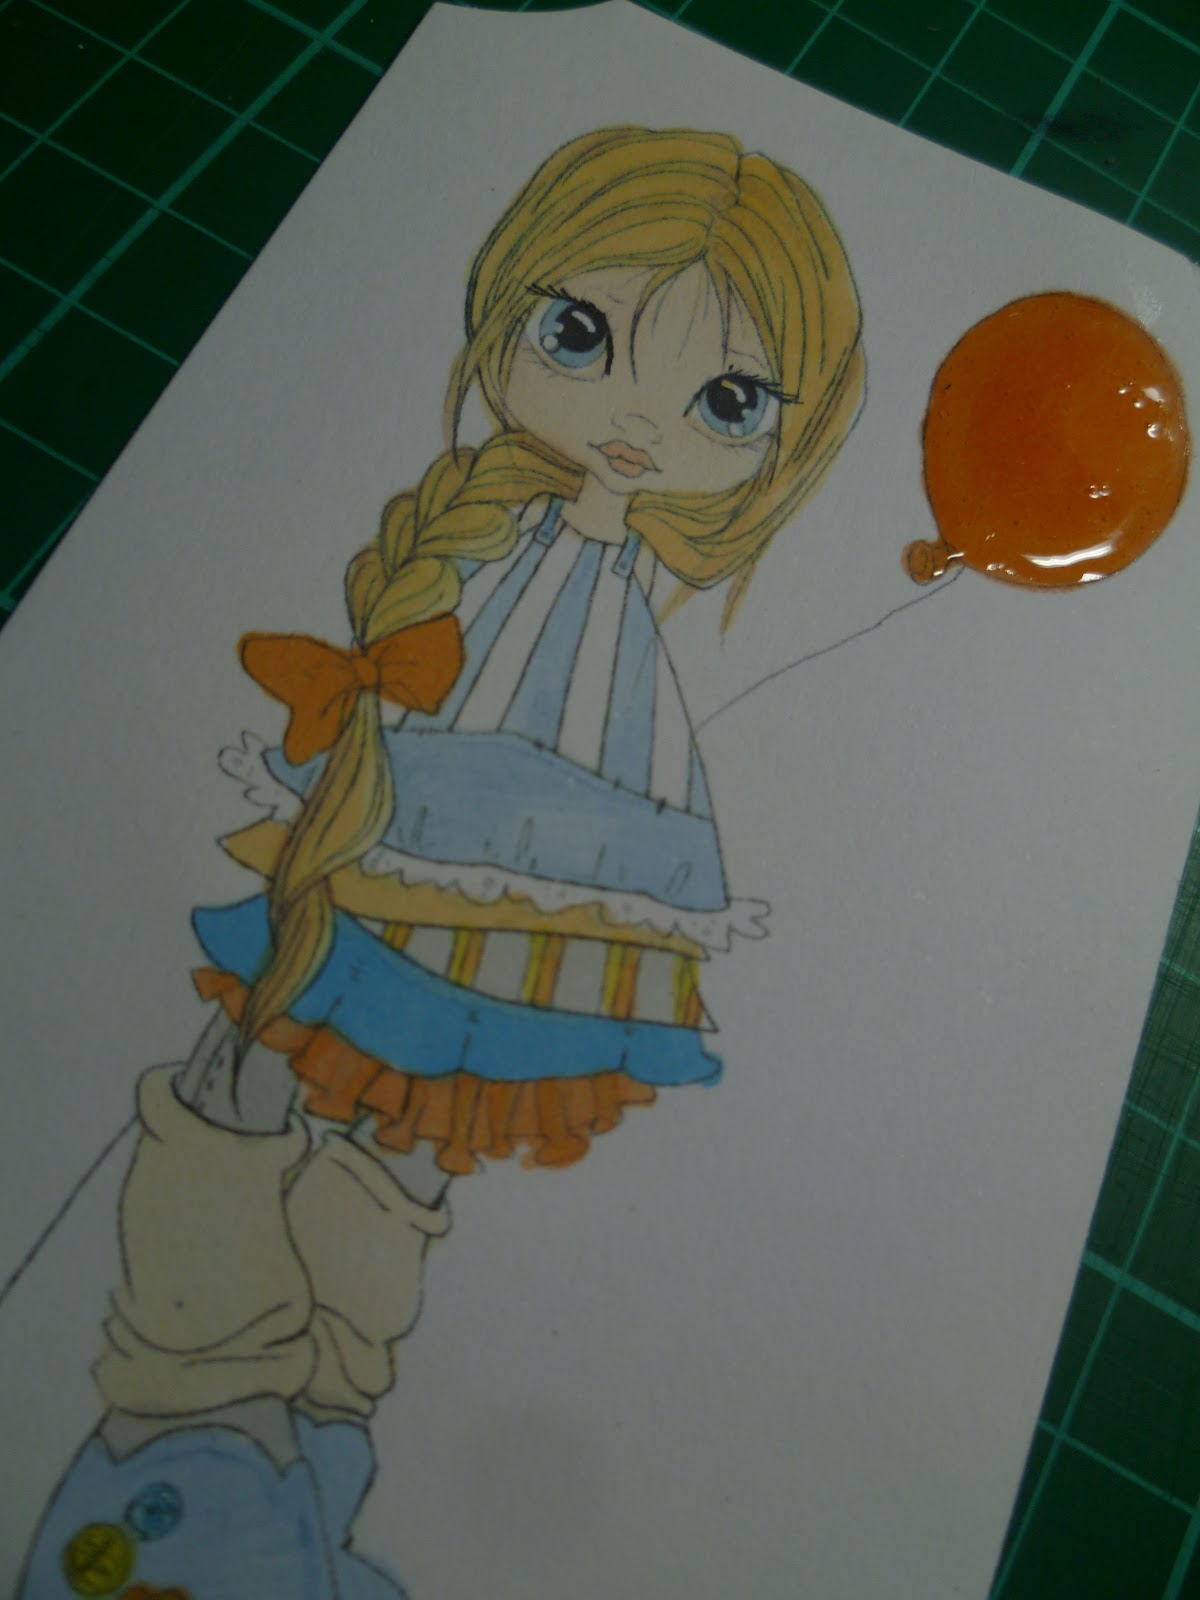
...and there you are - it really is easy!! By using the light box it gives a nice consistent background for your pictures!! so no more messy desk in the background, or inky cutting mat!! (guilty on both counts!) it looks so much more professional and It really brings out the detail in the picture too - and shows a 'truer' colour. I took a couple of pictures last night, the first picture is pretty much how I would take pics in the past, relying on the room lighting and the camera flash to do a good job. well, see for yourselves what a difference the lightbox makes.


I have to say I'm a little angry at myself for not making one of these sooner!!! I think of all the pictures of my cards I've taken and how much better they would have looked using the light box!! oh well, I have one now...and all for the price of a  pack of white tissue paper!! (would you believe I had every colour apart from white!!) ooooooooo - FYI - It took me little over an hour and a half to make - though i did have to remake and resize my box!! So if you find a box that is the right size from the start, making this will take you no time at all! LOL!

Well, I hope this has shown how quick and easy making a light box is and how much of a difference it can make to your photos!! if you sell your craft, or post pictures of it online, no matter what it is; jewellery, cards, flower arrangements, baking... if it fits in a box - make one of these - your pictures will be amazing!!!

Big Love. Speak Soon.
xxxxx 

Sunday 8 January 2012

Happy 2012!!

HELLO - and happy new year!!! I hope all of you got what you wanted from Santa!!!
Sorry I haven't posted in a while, I haven't been a very well bunny!! ....After the Christmas fair I was feeling awesome for about a week… and then I slipped my disc. Bloody typical – I'm just thankful I guess that my body had the decency of waiting until after the fair was over. The back injury literally put me flat out of action until the New Year. I was on horrendous amounts of strong painkillers so Xmas and New Year are pretty much fuzzy memories. I did have a fantabulous time though – this year is the 1st year in our relationship where me and the OH have actually spent Xmas DAY together!!!! I am usually in Portugal seeing my parents and he is usually working. Not only did we spend Xmas day together – we also spent New Years Eve together too!!! 1st ever midnightNew Year kisses!!!! So this festive season has been SO special because on top of all that – it is my 1st as an engaged girly!!

ALSO - I have given up smoking!!! After puffing away for more than half my life (awful considering I’m only 27!!) I have given up. Had my last one at a few mins to midnight, New Years Eve. Its going ok so far – hard, but that means its worth doing!!! 

Now for something a little more crafty.....

I bought a magazine at Morrison’s the other day and it had these cute free stamps on the front.  Having not been able to sit for the previous 2 weeks with my back - and trying to find things to do to curb my nicotine cravings – I jumped at the chance to have a play with these lovely floral stamps.


 Here's what I came up with. I knew I couldn't sit for long (back is still giving me jip) so I stuck to a basic design and had a little play with my pro markers. I kept to the same image on each card, only changing the colours. I'm pleased with how they turned out!!! 


I picked the big corner floral stamp to be the focal point of the card and also used the ‘with thanks’ stamp from the same set as the sentiment. I used my Sizzix framelits to do my circles, raised the mounted sentiment on foam pads and bish, bash, bosh I had 4 cards in next to no time!!!


I have said to myself LOADS that I am going to do this ‘set of 4’ thing with all my stamps!! Some them lay dormant for so long and I think this ‘matching set’ idea is a great way to get using stamps that don’t necessarily get a look in when I am making specific cards. These stamp sets are made to coordinate with each other so it should be quite easy to come up with a ‘set of 4’. They don’t necessarily have to be the same but they must look like they go together. Right - so, that's a little challenge I am going to set myself. might get me crafting more too - never a bad thing!!! :)

Thats it for now peeps.
Keep smiling, speak soon.
xxxx